![]()
How Django apps work and why you need an app in Django
In every web application, whether built with Python Django, PHP, Go, e.t.c, you should be able to extend the application by adding custom or third-party functionality.
Django apps are separate components that solve a different core functionality for your Django web website. The apps are created using the python manage.py startapp command in Django.
Your web application should be flexible in terms of adding custom components, technologies, libraries, or packages.
Moreover, you should be able to separate custom functionalities into single modules/parts within your web application.
These modules are then joined to form a union that leads to the fulfillment of the whole software application project.
In software engineering, the process of dividing a large problem or objective into smaller components/sub-problems that can be solved separately is called modularity.
So, what are Django apps?
Django apps are separate components that solve a different core functionality for your Django web website. Besides, they are used to extend the functionality of a Django project through additional Django packages.
Django apps are also used to organize Django code and make it easier to collaborate with other developers.
In simple terms, Django apps are more like plugins as used in WordPress applications.
They extend the features available for a Django application.
Besides, Django apps help organize and separate various features of a Django website into different components that work together towards achieving the goal of the Django project.
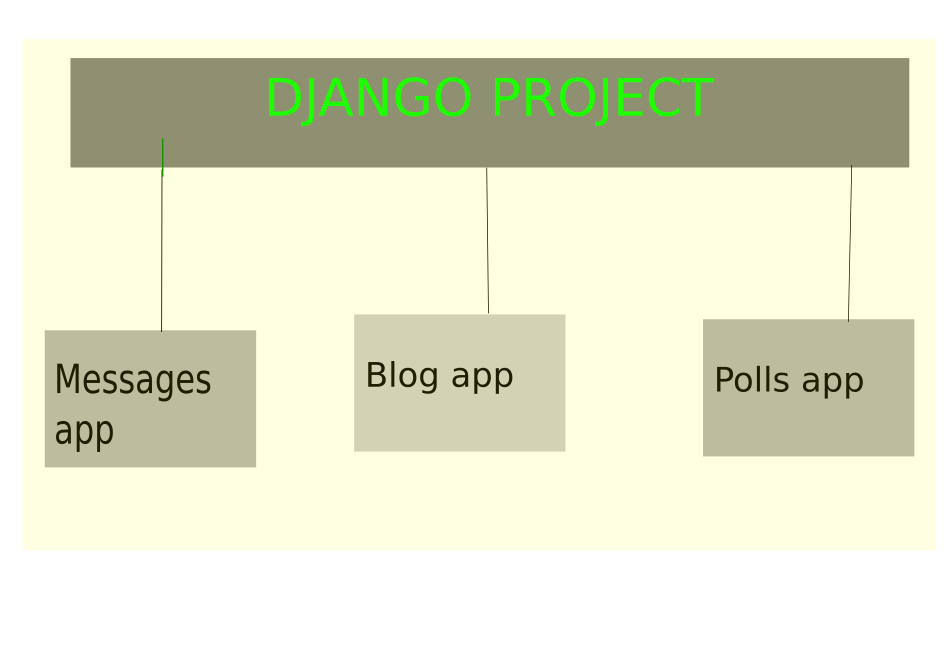
For example, you may have these components in your Django application: Blog, Messaging, Polls, e.t.c.
Instead of writing all your blog, messaging, and polls code in a single Django project directory, you use Django apps to separate each functionality.
So, you will end up having the
- Blog app,
- Messages app, and
- Polls app
All these apps are coupled together to achieve a website that users may use to read your blog posts, send messages to you, and be able to ask your readers the type of content they enjoy through polls.
To organize your Django apps and project folder, separate the project configuration files (settings.py, urls.py, wsgi.py, and asgi.py) and each Django app in its directory.
For project configuration files, you always keep them inside the directory that has your project name.
For example, if your Django project’s name is SimpleBlogt, then settings.py, urls.py, wsgi.py, and asgi.py should reside inside the SimpleBlog directory.
Whenever you create a new Django app, it should have a separate directory next to the main project configuration directory.
Then each Django app can have its files such as views.py, admin.py, models.py, e.t.c.

Now that you understand how Django project configuration and apps are organized, let me show you how to create new Django apps.
How to create Django apps
To create a new Django app, we use the python manage.py startapp [insert app name] command.
Django automatically creates the necessary files for a Django app and separates these files into a single folder named after the app name.
If your app name is polls, then Django automatically creates a directory called polls and keeps the app-level files such as views.py inside that directory.
Let’s install Python, create a new Django project, and create the messages, polls, and blog apps to see how this works.
Install Python 3
Run the following commands to install Python on your system
sudo apt update && sudo apt upgrade

sudo apt install python3 python3-pip virtualenv
After the process completes, create a new virtual environment that you will use for your Django project.
I prefer to keep all my virtual environments in a single directory inside the home directory.
Copy the command below and run it on your Terminal.
mkdir ~/.virtualenvs
The command creates a new folder inside your home directory. You can give it any name you want. I will use virtualenvs as the folder name.
I use a dot before the folder name to hide the directory. Therefore, the directory will not be visible from a standard file manager.
Inside the environments folder, create a new environment for your Django project.
python -m venv ~/.virtualenvs/simpleBlogEnv
After creating a new environment, create a new directory on the Desktop folder or anywhere.
You will use the folder to keep your Django project files.
Navigate into the folder using the Terminal, activate the environment, and install Django
cd ~/Desktop/simpleBlogProject

source ~/.virtualEnvs/simpleBlogEnv/bin/activate

pip install django
Create a new Django project
django-admin startproject SimpleBlog .
Now, we have the main project directory called SimpleBlog. This directory has the project configuration files, settings.py, urls.py, wsgi.py, e.t.c
Now, let’s create a new Django app.
Remember, we use python manage.py startapp to create a new app.
So, open the Terminal and type the following command to create a new app:
python manage.py startapp blog
After creating the app, you must add the app to the list of installed apps in your Django project settings.py configuration file.
So, open the SimpleBlog/settings.py file, and in the INSTALLED_APPS list, add a new list item, ‘blog’
Your INSTALLED_APPS should look like this:
INSTALLED_APPS = [
   'django.contrib.admin',
   'django.contrib.auth',
   'django.contrib.contenttypes',
   'django.contrib.sessions',
   'django.contrib.messages',
   'django.contrib.staticfiles',
   'django.contrib.sites',
   'django.contrib.sitemaps',

   'blog',
]
With that, you are done with creating and adding your blog app.
You can write all the functionality inside the blog app, and the Django website will have the functionality of a blog, such as writing, updating, viewing, and deleting blog posts.
As an exercise, create the messages and polls app using python manage.py and add them to the installed apps.
…
So, for your exercise, you should have these lines of code in your settings after running python manage.py startapp polls and python manage.py startapp messages commands:
INSTALLED_APPS = [
   'django.contrib.admin',
   'django.contrib.auth',
   'django.contrib.contenttypes',
   'django.contrib.sessions',
   'django.contrib.messages',
   'django.contrib.staticfiles',
   'django.contrib.sites',
   'django.contrib.sitemaps',

   'blog',
   'polls',
   'messages'
]
That’s it for this tutorial.
I hope you are comfortable creating new Django projects, adding new Django apps, and organizing your Django project and apps.
See you next time.

