![]()
How Does URL Routing Work in Django: Django URLs and views
When building a web application, you must understand how and where your web application’s various sections or pages are accessed. When you want to create a contact page, you must think of the link a user must access to fill in the information.
Moreover, when the user accesses the link, you must present the page with some data or HTML from somewhere within your web application.
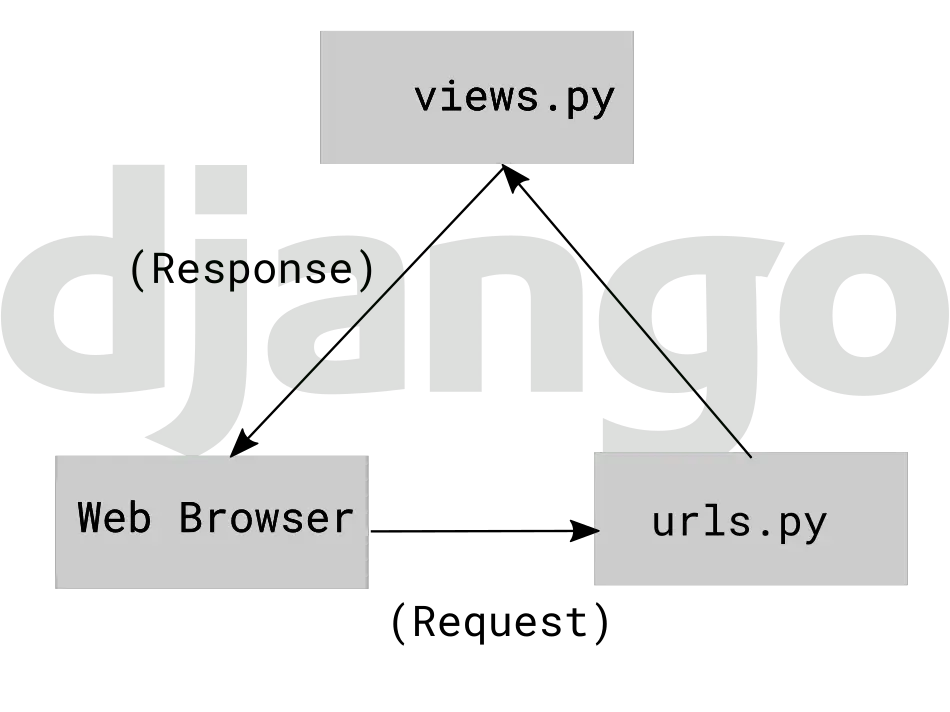
Django views, routing, and URLs handle the web application’s functionality of creating endpoints (links), which, when accessed data, are presented in the form of an HTML page or dynamic response. URLs enable a user to access a link, which then requests data from the view and responds with an HTML page containing the formatted data.
So, What is URL routing in Django?
Url routing in Django allows you to declare all the routes (links) common to your web application by mapping a URL to the code (view) that creates a web page.
The advantages of URL routing are:
- It helps create a better structure and organization of the whole web application
- Increase the website performance
- Improves Search Engine Optimization of your website
- Allows creation of URL endpoints that are user and SEO friendly
- Making modifications to the URLs and the data presented on a web page is very straightforward
- Enables the creation of dynamic links on your website
Let’s create a new Django project and app to better understand the concept of routing and views in Django.
Make sure you have installed Python on your machine. Otherwise, check this article, install Python and come back to this tutorial.
Create a directory to store your environment variables for various projects if you haven’t.
Open the Terminal and type the following:
mkdir ~/.virtualenvsCreate a new virtual environment for the project
python -m venv ~/.virtualenvs/DjangoRoutingEnvYou may name your environment variable any name you fancy.
Next, activate the virtual environment that you have created for the project
source ~/.virtualenvs/DjangoRoutingEnv/bin/activateAfter activating the virtual environment, install Django
pip install django==4.*Create a new directory inside the Desktop folder to store the project files. However, feel free to create the project’s directory anywhere on your computer.
mkdir ~/Desktop/DjangoRoutingProjectNavigate into the project folder and create a new Django project using the django-admin command.
cd ~/Desktop/DjangoRoutingProject

django-admin startproject DjangoRouting .
Create two new apps called contact and home. Add the apps to the project settings.py file under the INSTALLED_APPS list variable.
python manage.py startapp home

python manage.py startapp contact
Open the project folder with your favorite IDE or code editor and open the settings.py file. I am using PyCharm IDE.
Add the apps, and your settings.py file’s INSTALLED_APPS should look like this:
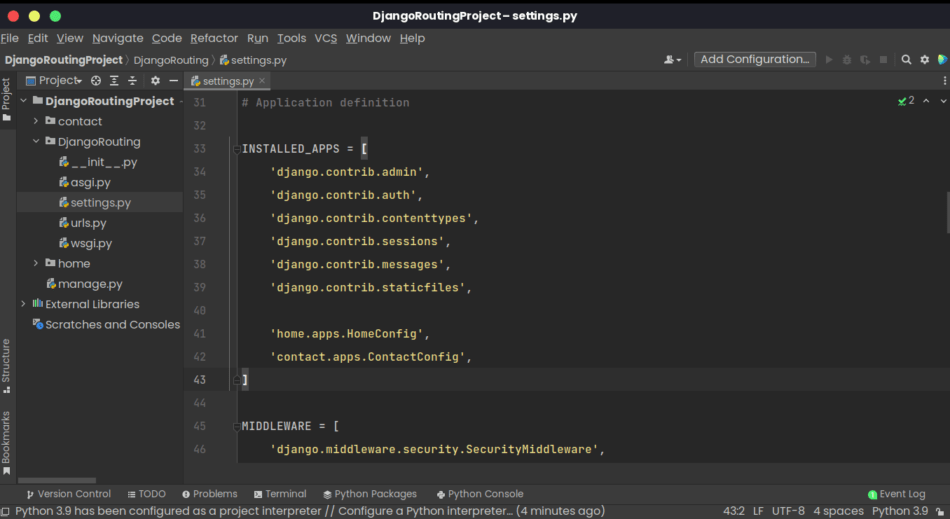
You have successfully created a new project and created two new apps.
Now, let’s dive right into the purpose of this article.
We’ll start by understanding what views and URLs are in Django.
What are views in Django?
In Django, views define the information shown to a user visiting your website upon accessing a particular URL.
Generally, a complete website has a contact page and an about page. These two pages have different types of information and functionality.
On the about page, you just browse the page and get the necessary information. On the contact page, you not only view information presented on the page but also fill in some data and submit it.
So, how do you separate the functionality and information on these pages on a single website?
Django views help define what is rendered on each URL (link) or page a user visits. Thus, the functionality of a contact page is separated from that of the about page using views.
What are URLs in Django, and what are they used for?
On the other hand, URLs dictate where the information defined by the views is shown on your website. The URLs define the link a user has to access to view certain information or web page of a website.
For example, it is common to find the contact page of any page under www.domainname.com/contact. Well, this example is defined by the URL functionality in Django.
Types of URL configurations used in Django
In Django, we have project-level URLs and app-level URLs.
Project-level URLs are configured inside the main project’s directory, while app-level URLs are created inside the app directory.
To connect the two URLs configurations, we use path() and include() Django functions.
Here’s how to connect app-level URLs with the project-level URLs:
Open the home app directory and create a new Python file named urls.py. Alternatively, you can use the following command to create the file. Make sure you’re navigated inside the project folder, where you run the ‘python manage.py’ utility.
touch home/urls.py
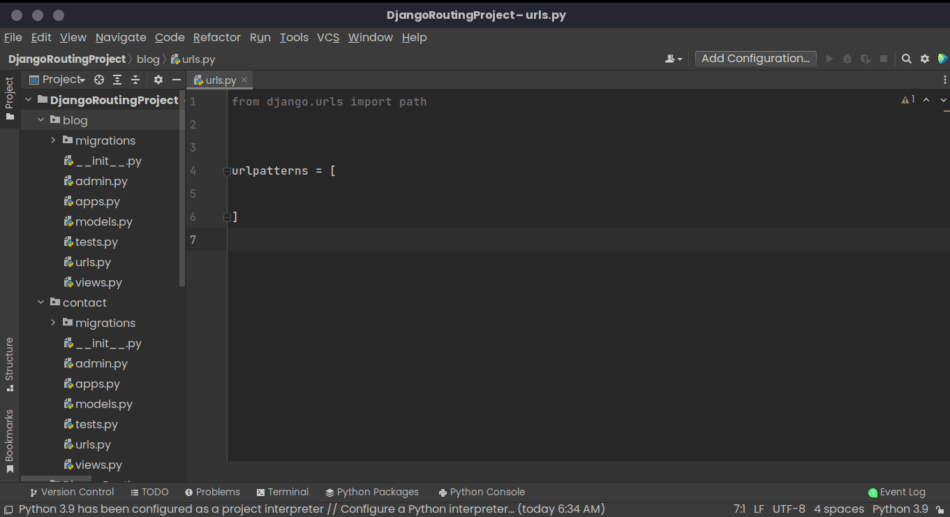
Add the following code inside the urls.py file you have created:
from django.urls import path

urlpatterns = [
]
Open the main project folder, and open the urls.py inside. Locate the line of code that has the following code: from django.urls import path
Replace the line with the following line: from django.urls import path, include
Inside the urlpatterns variable, add the following line under the line with the admin URL: path('', include('home.urls')),
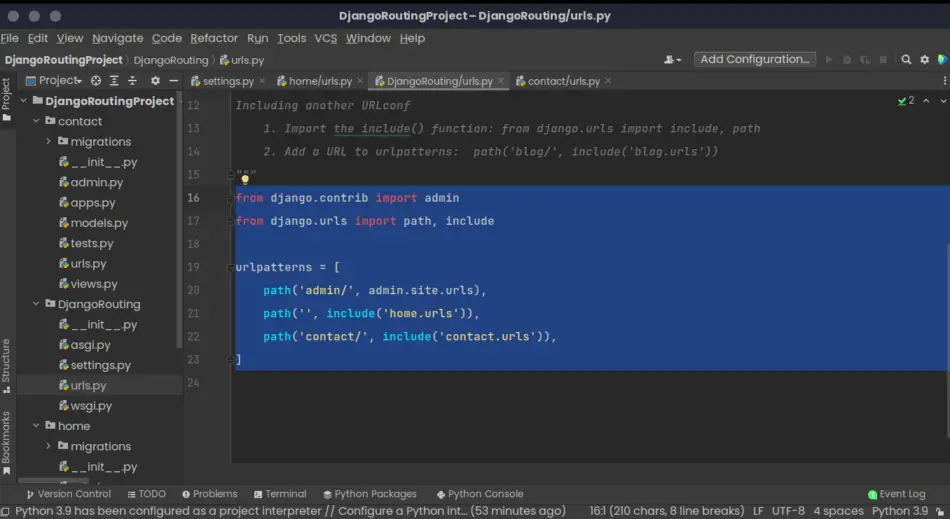
Your final project urls.py file should look like this:
from django.contrib import admin
from django.urls import path, include

urlpatterns = [
   path('admin/', admin.site.urls),
   path('', include('home.urls')),
]
Okay, what have we done there?
At first, we created an app (home) level URL inside the home app directory.
Inside the app level, we created an app-level URL configuration with the basic setup that uses path() to create new URLs. The urlpatterns that we left empty will be used to list a list of routes that are possible under that app.
Then we created a new project-level configuration inside the main project’s urls.py file.
We used include to connect the project-level URL configuration with the app-level configuration. Therefore, Django understands that whenever we access the home page of our website, it will use the URLs defined inside the app directory. That’s why we left the path set to be empty.
Create an app-level URL configuration for the contact app we created earlier.
After that, connect the new app URL configuration with the project URL configuration to have the /contact URL on our Django project.
Spend a few minutes doing this exercise before checking how I’ve done it.
…
Okay, confirm that you did this:
You created a new app-level URL Python file inside the contact directory:
touch contact/urls.pyAdded basic URL configuration inside the urls.py you created:
from django.urls import path


urlpatterns = [

]
After creating the app-level URL configuration, you connected the app URL configuration with the project-level configuration.
As you imported the include() function, you do not need to import it again. You just needed to add the following line under the home URL connection.
path('contact/', include('contact.urls')),Your final file should look like this:
Here, we created a new URL configuration for the contact app.
Next, we instruct Django to use the URLs inside the contact app urls.py file whenever a user accesses the /contact page.
Now that you know what Views and URLs do, combining their functionality results in routing in Django.
What is routing in Django?
When you combine the View and URL, your website has web page functionality.
Think of a view as a particular webpage, for example, the contact page of your overall website. However, you should know that the view cannot work independently; it needs to be routed through a URL. You need the domain.com/contact URL to access the contact view page.
Routing in Django is applied to achieve:
- Web pages of a websites
- Posts when you’re implementing a blog application
- Error pages that inform a user when an error occurs on your website
Routing is responsible for creating a web page, for example, a home or contact page, on a Django website.
Whenever a user wants to view a particular blog post on your website, let’s say the first blog post with an id of 1, Django routing takes care of the URL by dynamically using the id in the URL route. Thus, each blog post will have a unique URL depending on the id. The final URL of the first blog post will be: www.domainname.com/1/
Also, Django routing takes care of routing a user to an error page whenever a user accesses a page or post that does not exist on your website.
How to connect a view to a URL on Django
After creating a view, you connect the view to the URL using the path() function. The Django path function should have the following arguments: route, view, keyword arguments, and name. The route and view argument are required, while the keyword arguments and name are optional.
The path() function must have the route as the first argument. Here’s part of the syntax used in a path() function.
path(‘route/’, …)
The route argument defines the actual URL pattern upon accessing a certain page of your website.
For example, if a user accesses the domainname.com/contact URL, Django scans the list of the urlpatterns variable. If Django finds the route that matches /contact, Django connects the user to the view defined after the route argument.
The second required argument of the path() function is the view.
Upon matching the route pattern, Django uses the second argument of the path() function to connect the user with the relevant view associated with the pattern matched.
Therefore, Django renders the view contents that match the pattern to the user. In this case, the /contact URL will use the contact_form_view defined in the views.py file.
path(‘contact/’, views.contact_form_view)
By connecting the view, Django can define the information to be shown and what information to be shown when a user requests a certain URL pattern.
The keyword and name arguments are optional values you can add to the path() function. Keyword arguments are used to add more functionality by using dictionaries.
The name argument allows you to provide a name to the URL so that you can reference the URL somewhere else in your Django application. Thus, no need to hard-code a URL on a template.
For example, you can use the name argument on your templates to tell Django where to redirect after doing something on a page instead of writing the URL manually.
Let’s create a new view and see how URLs and Views connect in Django.
Creating views using Django function-based views
Let’s create a new view inside the contact app of the DjangoRouting project we created earlier.
Open the contact app’s views.py and add the following lines of code:
from django.shortcuts import render
from django.http.response import HttpResponse

# Create your views here.


def contact_form_view(request):
   return HttpResponse('Simple contact form view')
Here, we are creating a simple view called contact_form_view with simple data in the form of text displayed on a web page.
To connect the view to a URL route, open the urls.py file of the contact app and add the following lines of code:
from . import viewsWe’re telling Django to look for views in the same folder using the dot (.). Thus, Django will use the views.py file in the same folder with the urls.py file.
Then add the contact_form_view view to the list of the URLs of the contact app using the urlpatterns list variable.
urlpatterns = [
   path('', views.contact_form_view),
]
Open the main project’s urls.py file and ensure you have connected the contact app URLs.
from django.contrib import admin
from django.urls import path, include

urlpatterns = [
   path('admin/', admin.site.urls),
   path('', include('home.urls')),
   path('contact/', include('contact.urls')),
]
In the code above, we are instructing Django to match /contact/ pattern with the contact_form_view view whenever a user accesses the www.domainname.com/contact/
The route is a string (‘contact’), and the view is the contact_form_view.
We have used an empty string inside the contact app’s URL configuration to avoid repetition and have a URL that is /contact/contact/.
The main project URL configuration has the URL for that specific app. Thus, leaving the route argument as an empty string won’t take the user to the home page because Django must first match the /contact URL of the app.
At first, it must not be very clear, but you will understand it with practice.
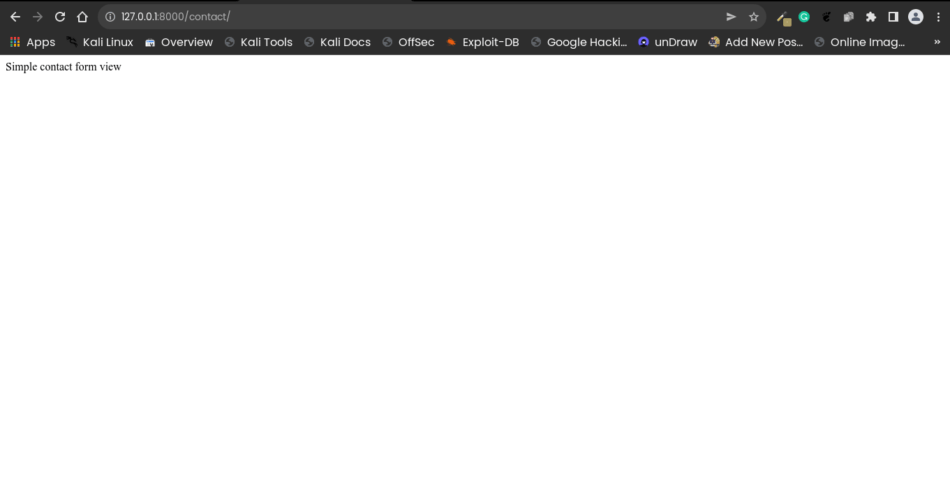
If users access domain.com/contact URL, the contact_form_view should be rendered, and the users should be able to see the simple text data as the response.
Run the python manage.py runserver command and access the 127.0.0.1:8000/contact URL. The data of the contact_form_view view should be rendered on the contact page in the form of text.
Whenever a user accesses the 127.0.0.1:8000/contact URL, Django matches the /contact pattern by looking at the project’s urls.py file. In this case, the pattern matches the contact app.
Django then accesses the contact app URL configuration, and the first route in the list is empty. Thus, the Django uses the view that matches the pattern, which in this case is the first route in the urlpatterns list.
Django fetches the data of the contact_form_view and renders it to the user displaying the simple text.
Recall that we mentioned that routing is also used to redirect users to an error page whenever they access a page that does not exist on your website.
Here is an example of the implementation of such Django functionality.
If you access only 127.0.0.1:8000, Django displays a 404 error page.
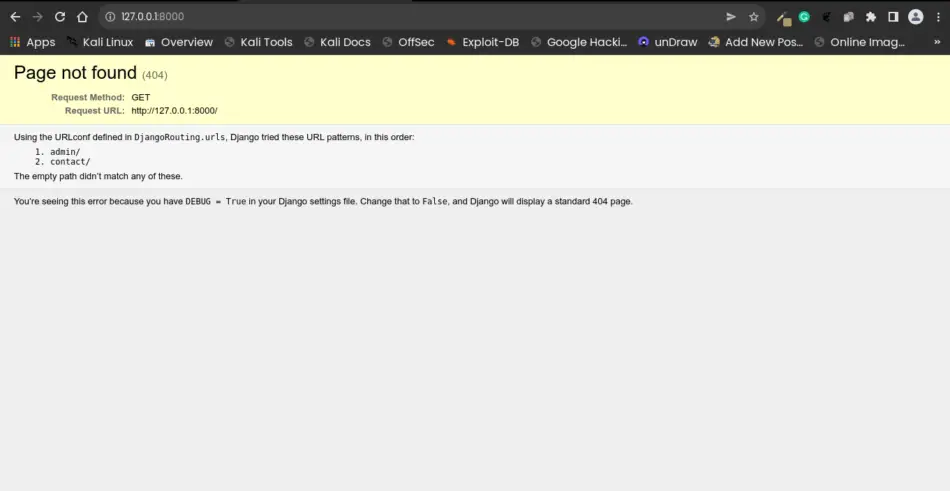
The reason is that we haven’t created a URL that matches the home page of our application.
As you recall, we use an empty string for the route argument of the path() function to create an empty route.
Here’s an exercise for you:
Create a URL for our home page to avoid Django displaying an error when one accesses the 127.0.0.1:8000 URL.
Spend a few minutes and come back to the tutorial to confirm the answer to the exercise.
…
Here’s how you should do it:
Open the main project’s urls.py file and confirm that you have connected the app (home) to the project-level URL configuration.
Also, ensure you have an empty route, so Django matches the home page with the home app.
Your final project’s URL configuration should look like this:
from django.contrib import admin
from django.urls import path, include

urlpatterns = [
   path('admin/', admin.site.urls),
   path('', include('home.urls')),
   path('contact/', include('contact.urls')),
]
Open the urls.py file of the contact app or create it if you haven’t yet created it.
Inside the app, create a route with an empty string so that Django matches the view you define here.
from django.urls import path

urlpatterns = [
   path(''),
]
Let’s create a view that displays a simple page on the home page of our website.
Open the views.py files of the home app and replace all the code inside with the following code:
from django.http.response import HttpResponse


def home_page_view(request):
   return HttpResponse('Welcome to Django Routing!')
After creating the view, connect the view to the URL route we had created earlier for our homepage inside the home urls.py file.
First, import the view.
from . import views
Then connect the home_page_view view to the home page route that has an empty string:
path('', views.home_page_view),
Your final home app urls.py file should look like this:
from django.urls import path

from . import views
urlpatterns = [
   path('', views.home_page_view),
]
Run python manage.py runserver command on the Terminal and access the home page of the website.
You should see something similar to this or the text that you defined in your view.
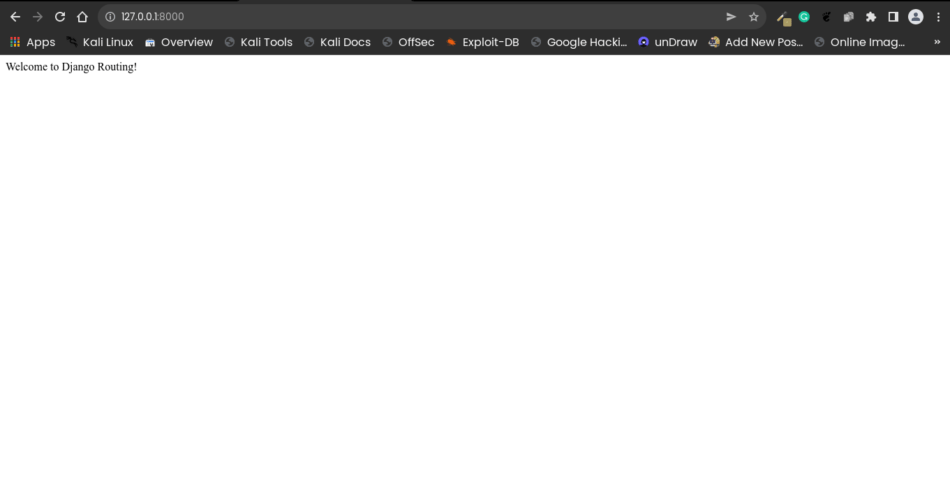
The error page should now be gone because Django can now match an empty route to the home app with the home_page_view view.
When users access the home page, Django matches the pattern and displays the data defined in the view associated with the pattern.
See how easy it is!
If you do not understand it right away, it will be easy as you practice. Take a break and come back to the tutorial.
Keep practicing! Create new URL endpoints and display simple messages using Views.
How to create dynamic URLs in Django
As you may have noticed, we are creating a new view for each URL we define for our Django application.
Dynamic URLs in Django are used to create new URL endpoints without manually creating each view for each URL. The views and data are dynamically generated, resulting in unique URL endpoints of your Django website.
Let’s say you have advanced your project and need to implement a blog to your web application.
A common feature in blogs is the ability to view related topics under one category.
For example, you can have programming, python, and web hosting categories in a typical tech blog.
So, from what we have learned, you would implement such functionality by creating a view for each category.
Let’s create a blog application for demonstration, add it to the apps list, and connect the app URL configuration to the project-level URLs.
I assume you know how to do it by now.
Create a new application:
python manage.py startapp blog Add the app to the apps lists in the main settings.py file
INSTALLED_APPS = [
   'django.contrib.admin',
   'django.contrib.auth',
   'django.contrib.contenttypes',
   'django.contrib.sessions',
   'django.contrib.messages',
   'django.contrib.staticfiles',

   'home.apps.HomeConfig',
   'contact.apps.ContactConfig',
   'blog.apps.BlogConfig',
]
Create a new Python file for URL configuration inside the blog application:
touch blog/urls.py Add the app-level base configuration without a view for the blog/urls.py file
Connect blog app-level URL configuration to the project-level URL configuration.
We’ll use /blog as the endpoint URL for the blog app.
Your final project-level URL configurations should look like this:
from django.contrib import admin
from django.urls import path, include

urlpatterns = [
   path('admin/', admin.site.urls),
   path('', include('home.urls')),
   path('contact/', include('contact.urls')),
   path('blog/', include('blog.urls')),
]
Now, to create each view for each category for our blog, you would do it like this in your blog/views.py file:
from django.http.response import HttpResponse


def programming_category_view(request):
   return HttpResponse('Programming page')


def python_category_view(request):
   return HttpResponse('Python programming page')


def web_hosting_category_view(request):
   return HttpResponse('Web Hosting category page')
Then, you would import all these views into your urls.py file
from django.urls import path
from . import views

urlpatterns = [
   path('programming/', views.programming_category_view),
   path('python/', views.python_category_view),
   path('web-hosting/', views.web_hosting_category_view),
]
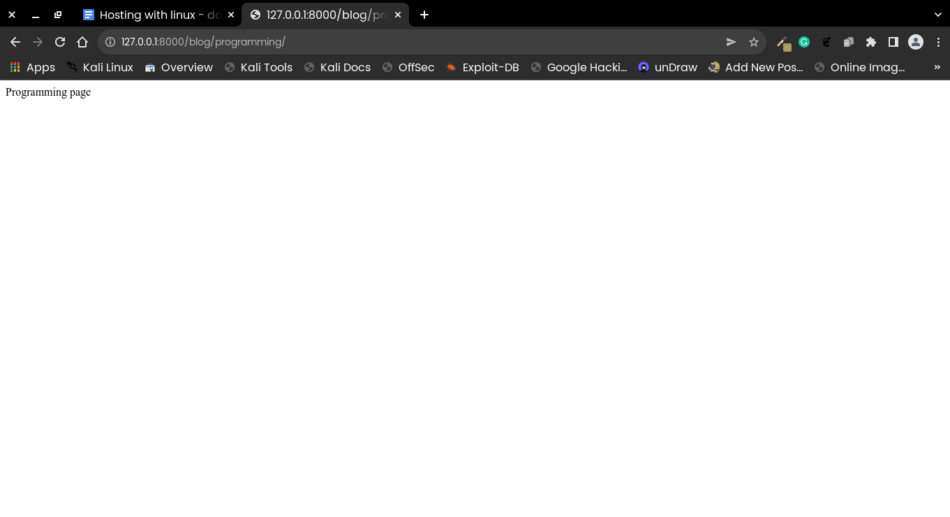
Now, if you access the /blog/programming/ you would be able to see the programming category blog posts or information.
The same happens for other categories.
As you may have noticed, the approach would be very tedious for a web application that would grow large.
For every category that you may want to add, you must create a new view and URL.
Moreover, we keep repeating certain lines of code, which should not happen when using Django because Django encourages the DRY (Don’t Repeat Yourself) principle.
A better approach is to use DYNAMIC URLs.
You can use another Python file to define all the categories in a dictionary and dynamically pass the values to the view. This simple implementation will be used for our application to store categories.
However, you can always use dynamic data from other Python objects or the database.
Create a new file inside the blog app and name it categories.py.
touch blog/categories.py
Add the following dictionary to the file:
blog_categories = {
   'programming': 'Programming category page',
   'web-hosting': 'Web Hosting category page',
   'python': 'Python category page'
}
Here, we’re using a Python dictionary to store the category items that will be returned dynamically.
Moreover, whenever you may want to add or remove a category, you will use this file without having to change the views or URL configuration files.
The dictionary returns a list of blog posts passed as the value for each key of the dictionary.
In this case, we are returning a simple text to the page. So, the dictionary key is used as the URL, and the value is used as the data to be returned on a page.
Here’s how you implement dynamic routing in Django using the dictionary example above.
First, import the Python object containing the categories list and the data to return for each page.
from .categories import blog_categoriesThen create a single view that will automatically generate views for each category defined inside the blog_categories module.
from django.http.response import HttpResponse
from .categories import blog_categories


def posts_view(request, category):
   return HttpResponse(blog_categories[category])
Here, we are informing Django to return a response to the user, which contains the data in the blog_categories dictionary values.
Then in the urls.py configuration, you do not have to create each URL for each category; you dynamically generate a URL using the dictionary keys.
You instruct Django to use dynamic values by using <> syntax inside the route argument.
from django.urls import path
from . import views

urlpatterns = [
   path('<category>/', views.posts_view),
]
Whenever a user accesses a URL, for example, /programming Django looks up the passed URL pattern inside the dictionary object keys.
When that pattern matches a key in the dictionary, Django uses the value for that key as the data passed to the view function.
So, Django receives a request from a user to display the content of a particular page.
Then, Django uses the passed value to look for a pattern match inside the dictionary keys.
When that pattern matches any value in the dictionary keys, Django uses the value of the key as the data that is passed to the view.
Django then renders the data to the page requested by the user.
Now, if you access the /programming page, you should see a similar page like this one. The same for other categories in your dictionary file.
Keep on practicing.
If you do not get it at first, you will get the hang of it, and your aha! moment will come when you see how simple it is.
Using a Path Converter in Django: What is a path converter in Django?
Path converter in Django is a class that has regex class attributes used to convert a matched string into the type that should be passed to the view function as an argument.
Generally, a URL can include integers, strings, or both integers and strings.
You may instruct Django to match a specific data type for a particular URL depending on the type of data required by the view. A contact page should always match a string route. On the other hand, a blog post can either match an integer that uses the post’s id or a string generated using a slug or string.
If the pattern does not match the data type required by the view, Django will throw an error.
The common path converters used in Django are str, int, slug, UUID, and path.
Here’s how to inform Django to use a string or integer for a particualr URL.
The syntax looks like this:
urlpatterns = [
   path('<str:category>/', views.posts_view),
]
The str:category syntax instructs Django that the URL endpoint for the categories views will be a string.
If your view requires a specific data type to be passed as an argument, you use the pattern converter to convert the pattern supplied by the user to the data type that the view function can use.
That it’s for this tutorial
I hope you’ve learned how Django URLs and Views interact, resulting in the creation of web pages for the entire project.
Keep practicing and going through this article to understand the concepts better.

