![]()
How to solve sorry the printing service doesn’t seem to be available
Sometimes plugging in a printer to your Linux may not work as a plug-and-play.
It can be frustrating, especially when you are in a hurry.
This article will show you how to install and configure a printer on a Kali Linux machine.
How to install and configure a printer in Kali Linux
You add a printer in Kali Linux by ensuring all the drivers are installed in your system.
Adding a printer and resolving “sorry the printing service doesn’t seem to be available” is easy.
To do so, open your terminal and run the following commands:
sudo apt-get install cupsOpen the Settings app and navigate to the Printers tab on the left pane.
Plug in your printer’s USB cord and connect it to your computer.
The system will automatically prompt you to install printer-specific drivers.
Click on Apply.
After driver installation, you can go ahead and print your documents.
However, some drivers may not download automatically, and you may be prompted to install them manually.
If the above method does not work, try following the below steps.
How to install and add a printer in Kali Linux
Do you have a problem setting up your printer on Kali Linux or any other Debian/GNU Linux machine?
Or maybe, you are experiencing the “sorry the printing service doesn’t seem to be available” error when you open the settings.
This tutorial will show you how to add a printer, configure printer drivers, and resolve printer error issues.
Besides, it will show you how to solve common printing problems such as blank page print results.
In summary, you will configure your machine and printer in the following steps:
- Step 1: Install the necessary printing system for your machine
- Step 2: Understand why a printing system is required when setting up the Linux printing service
- Step 3: Connect your printer to your machine
- Step 4: Install drivers that are specific to your printer
- Step 5: Resolve printer issues such as printing blank pages.
Step 1: Install the necessary printing system
The initial step involves installing a printing system.
You will install the CUPS system to handle printing functions on your Linux operating system.
CUPS (Common UNIX Printing System) is a commonly used printing system on most Linux distributions.
To install CUPS on your Linux machine, Open the terminal (CRTL + ALT + T) and type the following command
sudo apt updatesudo apt cupsThe following additional packages, libraries, utilities, and drivers will be installed:
- Packages: cups, cups-daemon, cups-browsed, cups-filters, cups-ppdc, cups-server-common, lynx lynx-common
- Drivers: cups-core-drivers, cups-filters-core-drivers
- Utilities: cups-ipp-utils
- Libraries: libcupsfilters, libfontembed1 liblouisutdml-bin liblouisutdml-data liblouisutdml9 libpoppler-cpp0v5 libqpdf28
Step 2: Why a printing system is necessary when setting up the Linux printing service
This step is necessary as you should ensure that all the libraries, packages, and drivers are installed.
When such requirements are not met, the printing system may encounter problems connecting with your printer.
A printing system (CUPS) plays the following roles on your Linux system:
1. Supports communication with the server
CUPS allows applications such as WPS Writer installed on your system to communicate with a server that may be configured with one or more printers.
CUPS allows applications to communicate and send print jobs to specific printers if you have multiple printers on your network.
The Internet Printing Protocol facilitates communication between the printer and applications.
2. Supports scheduling
Another function of a CUPS system is to schedule printing jobs sent to the server or the printer.
When multiple printing jobs are sent directly to the printer, they must be scheduled and printed in the order they were sent by the computer nodes. CUPS system schedules such jobs printing them in their order
Another scheduling functionality happens when printing jobs are sent to the server.
The CUPS system schedules and assigns printing jobs to specified printers available on the network.
The system works by holding the information that includes the destination addresses of each printer.
These destinations are the IP addresses of the printers on the system.
The CUPS system uses the destination IP addresses to send print jobs. The Internet Printing Protocol facilitates such communication.
3. Acts as a spooler
In computer systems, a spooler is a utility that regulates data flow between different applications or devices.
A spooler enhances data transmission efficiency between an application such as a word processor and a slow device such as a printer.
A printer is an example of a slow peripheral.
Spooling works in the same way as a scheduler works.
A spooler may temporarily store print jobs before sending them for printing.
However, a spooler stores such information in the computer memory, which is then accessed when the printer is ready.
Thus, additional print jobs can be added before all the print jobs in the computer memory finish printing.
Compared to scheduling, all the print jobs must complete before adding additional print jobs.
In conclusion, a printing system installs the necessary drivers, utilities, packages, and libraries needed to initiate print jobs, communicate with the printer and server, and schedule such print jobs.
Step 3: Connect your printer to your machine
After installing the CUPS system on your system, any other printer can be added.
The process happens automatically for commonly used printers.
Plug in the printer’s USB cable that came with the device onto your computer.

You will receive a prompt indicating that the system is looking for drivers available for your specific printer.
The system will prompt you to install additional drivers specific to your printer model if the printer-specific drivers are available online.
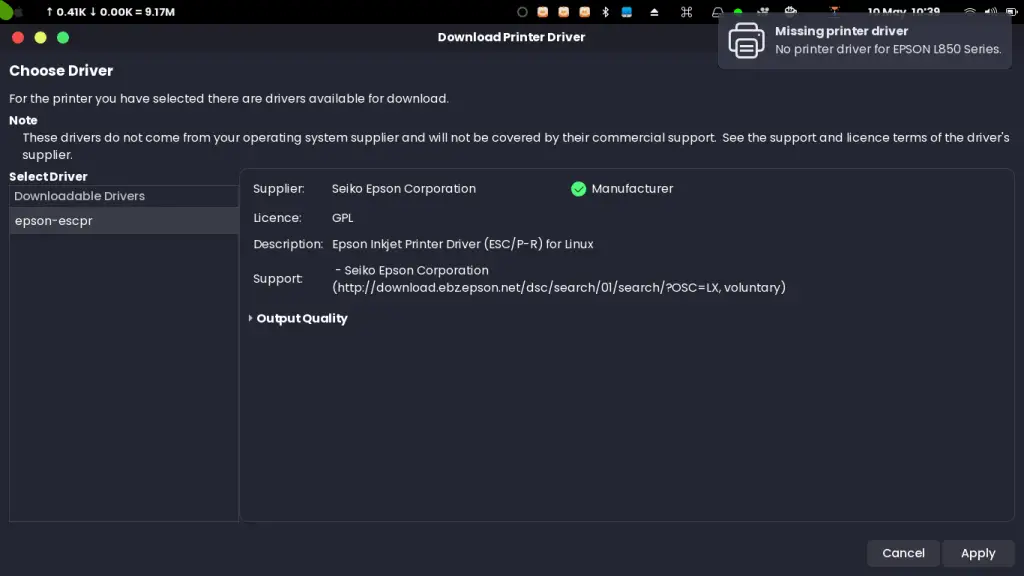
Click on Apply.
The drivers will be installed automatically.
Step 4: Install drivers that are specific to your printer
You may ask why we need additional drivers.
Well, each printer comes with drivers specific to the model.
These drivers must be installed to support printing with that specific printer model.
Without the drivers, the system cannot recognize and communicate with the printer.
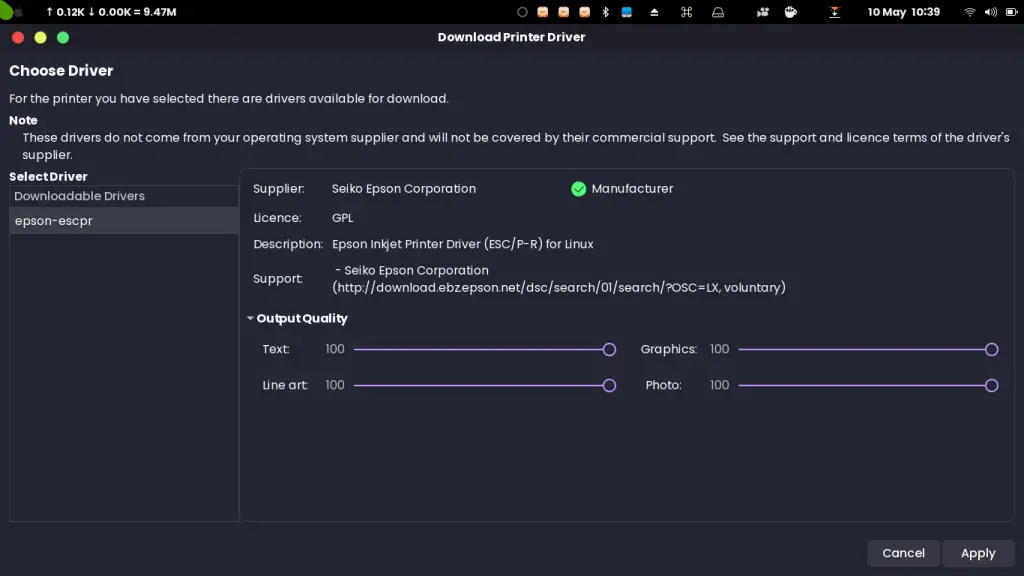
In this setup, I am using the EPSON L850 Photo All-in-One Tank Printer.
After installing all the printer-specific drivers, you can go ahead and set up your printer.
To do that, follow these steps:
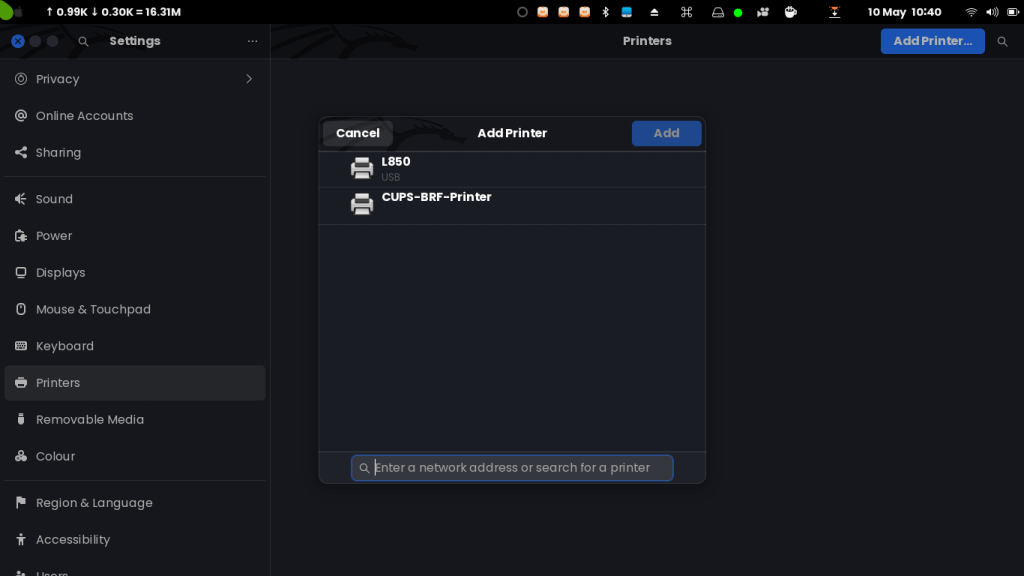
- Open Settings app
- Browse to the Printers tab
- Click on Add Printer button on the top-right side
- Select your printer and click on Add
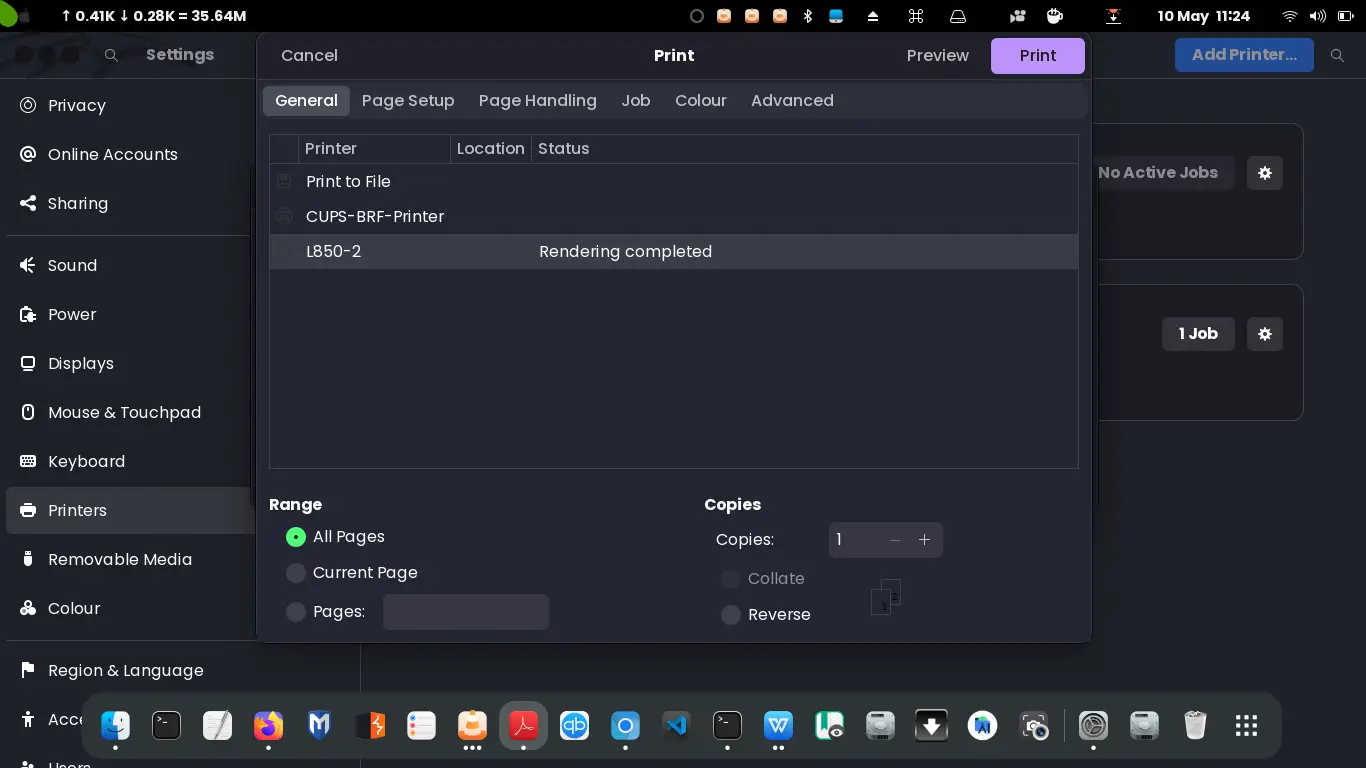
After adding your printer, your system is ready to print.
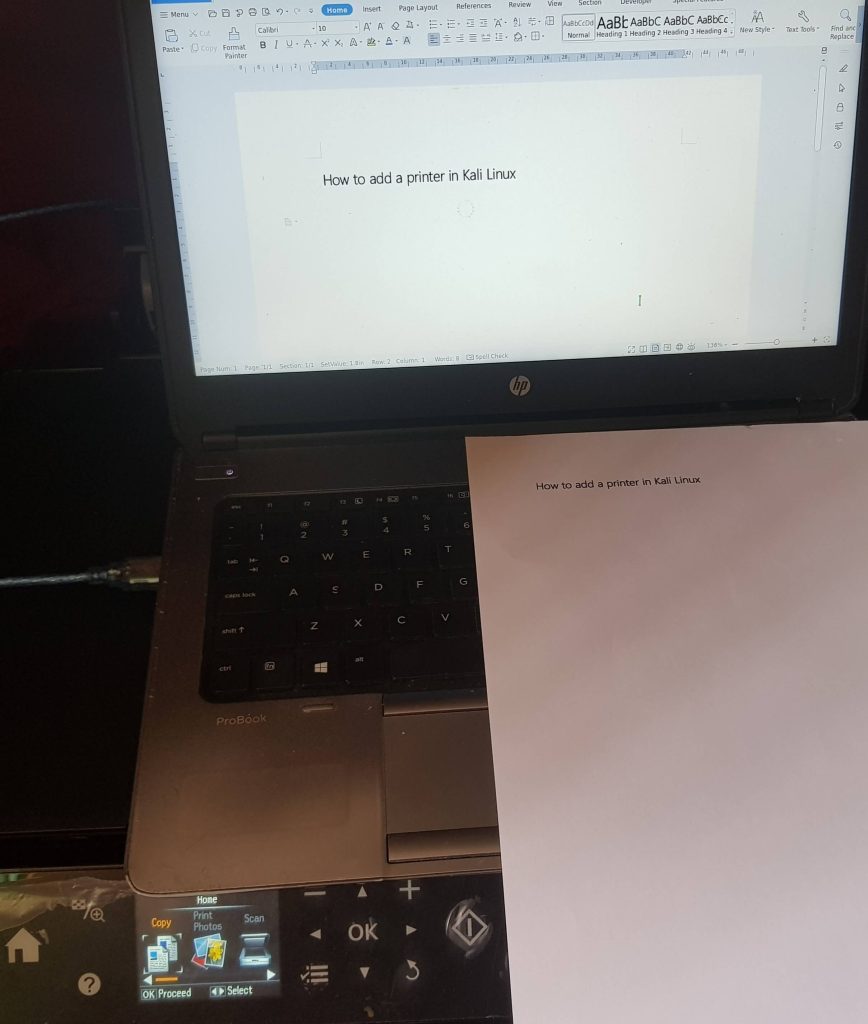
Open your preferred text editor, create a new document, and print to test your newly added printer.

Step 4: Resolve printer issues such as printing blank pages.
Although you have completely installed your printer, you may face an issue with your document being printed as a blank page.
This may happen for your system or not. I faced a similar issue.
If that is the case, there may be a couple of reasons that your printer setup may not be successful.
- You are not connected to the internet, and the system does not automatically find the necessary drivers.
- There are no drivers currently present for your printer
If that is the case, resolve your internet connection.
If the internet connection is not an issue, you can install generic drivers, and probably your printer will connect successfully.
Here’s how to install generic drivers in your Linux system by running the following commands:
Step 1: Update your system
sudo apt-get updateStep 2: Install the packages
sudo apt-get install foomatic-dbThe above command installs common spoolers and drivers available for UNIX and Linux.
Therefore, there will probably be particular drivers supporting your specific printer model among the drivers and spoolers.
After the installation is complete, repeat the process of adding your printer.
Then confirm that you can print successfully without blank pages.
And that’s it for this tutorial.
Hopefully, you found this information helpful.

