How to link views and URLs in Django

Views and URLs are two essential modules used in Django web applications. Views and URLs allow you to create web pages and links such as /contact/ on your Django web application.
So, how do you link views and URLs in Django? You connect a Django view to a URL by using the path module that allows you to create a URL endpoint, for example, /contact, and map it with the view you want to associate with that URL, for instance, contact_view view.
A view in Django is created as a separate module, mainly in the views.py file.
On the other hand, a URL is created in another separate module, commonly in the urls.py file.
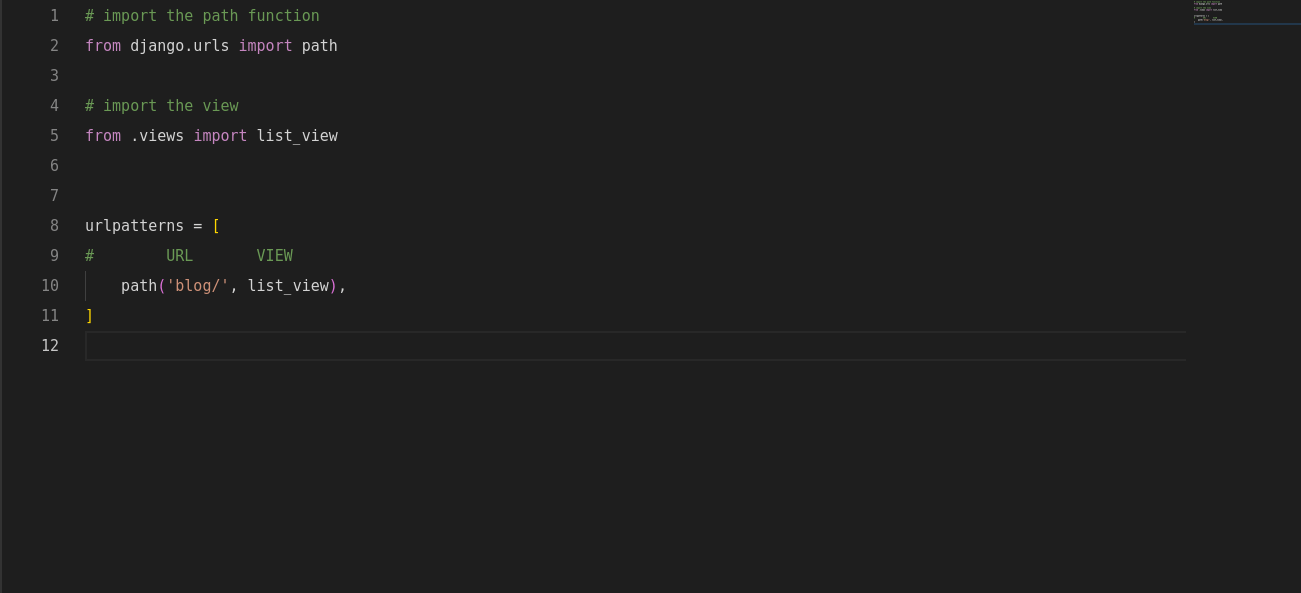
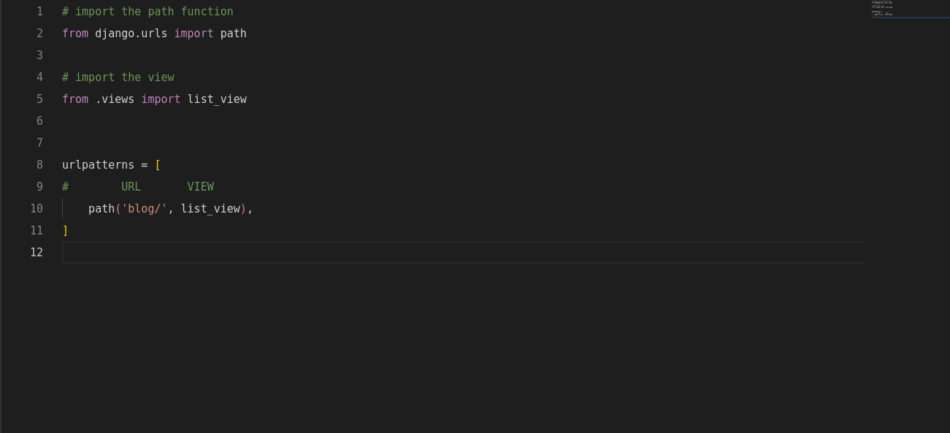
Whenever you create a view in the views.py, you must import it into the urls.py module and connect it to a URL using the path function.
So, to connect the view to the URL, you need the path function that takes a URL endpoint and a view as the arguments.
Here’s an example of the path syntax:
path(‘my-url/’, my_view)

Using the path function allows you to map a URL to a view that will be associated with it. To import and use the path function, type the following line at the top of your urls.py file:
from django.urls import pathThe web works this way:-
You make a request to a website by accessing any URL of a website, say /contact/. Then, the request is directed to the associated view, which processes the request and returns a response to the client.
So, the client application, the web browser, makes a request to a link on your website, the request is redirected to the Django view, and the view returns a response using the same URL.
Django responds with an HTTP response object containing an HTML page, allowing the user to see the contact page contents of your Django web application.
To connect a view, you just have to use the path function, which requires the URL endpoint and the view associated with the URL as its arguments.
Anytime a client application makes a request using a URL endpoint that matches the string of the first path argument, Django uses the second argument as the view.
The view will be responsible for processing the request.
Upon matching the URL with a view, processing of the request happens within the Django view, which returns the HTTP response that may include HTML text.
Let’s create a new Django project so that you understand how Django views connect to a URL endpoint.
Example code implementation for connecting a Django View to a URL
Ensure that you have installed the latest version of Python, Pip3, and Virtualenv.
We’ll use pip to install Django and Virtualenv to create a virtual environment.
This article provides more information on how to set up a Django development environment.
Open the Terminal and type the following:
sudo apt install python3 python3-pip virtualenv
After installing or updating Python to the latest version, create a new virtual environment:
python3 -m venv ~/.virtualenvs/newEnv
Activate the new virtual environment
source ~/.virtualenvs/newEnv/bin/activate
Then install Django using pip. This article shows you how to install Django in a virtual environment.
pip install django==4.0
Create a new directory to store your Django project files. You may create the folder anywhere you want on your file system.
mkdir ~/Desktop/newDjangoProject
Navigate into the Django project’s folder
cd ~/Desktop/newDjangoProject
Create a new Django project
django-admin startproject myWebsite .
Open the project directory using your favorite IDE or code editor.
Create a new file called views.py inside the project’s configuration directory. The project configuration directory is the folder that has the settings.py file.
touch myWebsite/views.py

After creating the views.py file, let’s define a new function-based view that returns a simple message whenever a user accesses the home page of our website.
Add the following lines of code to your views.py file:
from django.http.response import HttpResponse


def home_page_view(request):
   return HttpResponse('You are viewing the home page')
First, we’re importing HttpResponse that will allow us to return a simple HTTP object when a user requests the server to view the contents of our home page.
After creating the view, you must import it into your urls.py module to map it to a URL.
In this case, we will map the home page of our website with the view above.
The URL endpoint is an empty string to allow a user to always see the home page when they type the domain name of our website. Say, for example, example.com.
Django will match an empty string upon users accessing our home page with the view supplied to a path function that has its first argument set to an empty string.
Open the urls.py file and add the following line before the urlspatterns variable:
from .views import home_page_view
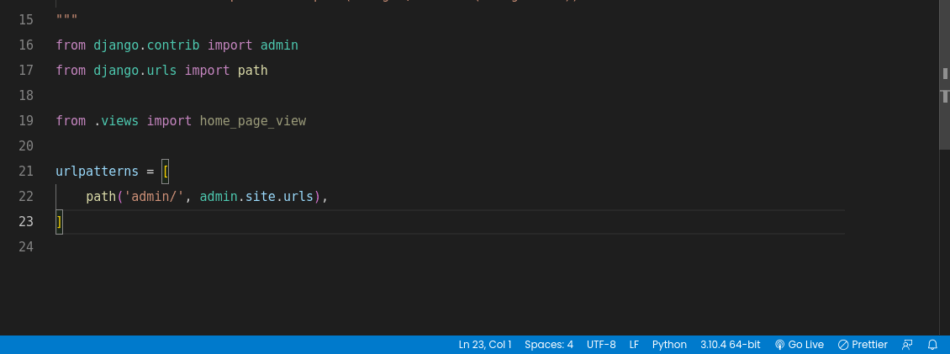
Your file should look like this:

Then create a new URL endpoint using the path function and map it to your view.
path('', home_page_view),
Confirm your project level urls.py file has the following code:
from django.contrib import admin
from django.urls import path

from .views import home_page_view

urlpatterns = [
   path('admin/', admin.site.urls),
   path('', home_page_view),
]
We’re creating a new URL endpoint that is an empty string and mapping it with the view we imported from the views.py file.
Open 127.0.0.1:8000, and you should see the message from our view.
Creating and mapping a view to a URL is as easy as that.
Let’s create another view and map it to another URL endpoint. Say, for example, a contact page.
Add another view function to your views.py file:
def contact_page_view(request):
   return HttpResponse('Our contact page')
Create a new URL endpoint /contact/ and map it to the view above. You know the drill!
Import the view first.
from .views import home_page_view, contact_page_view
Then create the new URL using the path function.
path('contact/', contact_page_view),
Confirm you have the following URL configuration before accessing 127.0.0.1:8000
from django.contrib import admin
from django.urls import path

from .views import home_page_view, contact_page_view

urlpatterns = [
   path('admin/', admin.site.urls),
   path('', home_page_view),
   path('contact/', contact_page_view),
]
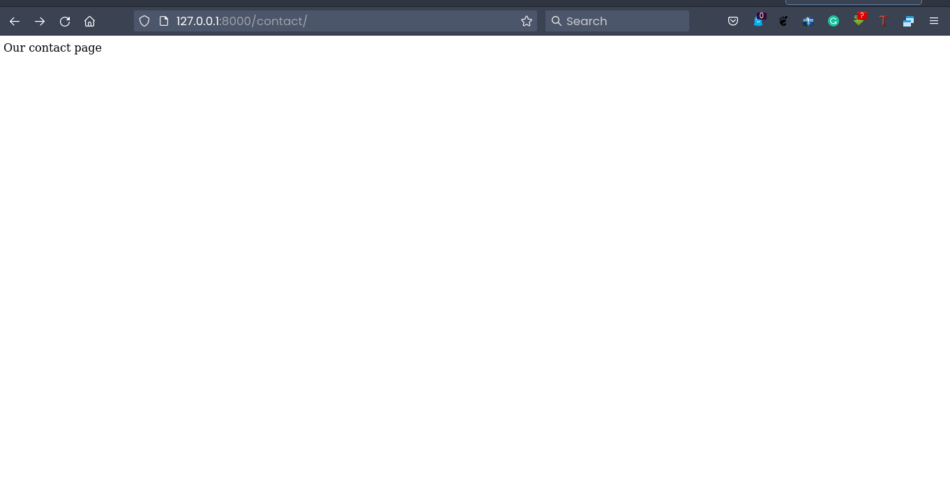
Open 127.0.0.1:8000/contact and voila!

You have your contact page in a straightforward approach that involves connecting a contact view to a contact URL.
That’s it basically for this tutorial.
I hope you can connect your Django views to URLs and create web pages for your web application. See you next time.

