![]()
Do I have to install Django for every project?
As a Django web developer, you are more likely to work on more than one Django project at any one time. Each project will require Django installation for it to work.
As a convention, Python virtual environments help you create an isolated environment that you can use to install Django, its dependencies, and other required third-party packages from PyPi for each project. That means that the requirements of one project may be very different from another.
You have other options such as installing Django globally/system-wide environment. However, the approach has its disadvantages that limit you to using only one version of Django across all your Django projects. Besides, packages used in one project are accessible across all the other Django projects created on your machine or server. Such configuration can lead to conflicting dependencies.
Because of that, you are left with the isolated environments option. A common practice involves creating isolated environments that are unique to every Django project.
That begs the question:
Do I need to install Django in every virtual environment?
It is recommended to install Django inside each virtual environment that you create for your project. Django can be installed easily using pip within each of your active Python virtual environments. This way, you can have a separate Django version and its dependencies that are unique for each project.
With every new project, create an isolated Python virtual environment to make it easy to manage the packages and prevent dependencies issues if you ever have too many projects that require different versions of dependencies.
How to install Django in every isolated environment
Follow these steps to create a new Django project that has its isolated virtual environment.
- Step 1: Create a designated directory to store all your Python virtualenvs
- Step 2: Create a new Python virtual environment using venv
- Step 3: Activate the newly created virtual environment
- Step 4: Install Django in your new isolated environment
- Step 5: Create a new directory for your new Django project
- Step 6: Install packages that are unique to your new project using pip
- Step 7: Store the list of dependencies for each project in a requirements.txt file
- Step 8: Deactivate the virtual environment when you’re done
- Step 9: Activate the virtual environment whenever you work on the project
Step 1: Create a designated directory to store all your Python virtualenvs
Create a single directory on your computer that will store all the virtual environments you create for your Python Django projects. Keeping all your virtual environments in a single directory helps keep your directory structure organized avoiding isolated environments cluttered across your directories.
Here are the detailed steps:
Decide on the location on your computer where you want to store your virtual environments
Open the Terminal and create the new directory
If you want to create the directory in the home directory, navigate into the directory by using the following command:
cd ~Then create the directory designated for keeping all the virtualenvs. I prefer to name the directory .venvs or .virtualEnvs.
mkdir .venvs

# OR

mkdir .virtualEnvs
Now, every time you want to create a new Python virtual environment, be sure to reference this directory as shown in step 2.
Step 2: Create a new Python virtual environment using venv
You will need to create a new virtual environment for your Django project. Doing that is very easy using the venv module that comes as a Python standard library. Follow these steps:
Open the Terminal window
Create a new virtual environment by running the following command:
python3 -m venv ~/.virtualEnvs/my_new_envBe sure to use the right directory you designated for storing all your isolated environments. If yours was, .venvs, then use the appropriate command containing .venvs as the directory.
python3 -m venv ~/.venvs/my_new_envIf you list the contents of the directory, you should see the name of your new virtual environment.
ls ~/.virtualEnvsStep 3: Activate the newly created virtual environment
Now that you have created a new Python virtual environment (in step 2), activate it by using the following command:
source ~/.virtualEnvs/my_new_env/bin/activateReplace the name of the directory .
virtualEnvsand the name of your virtual environmentmy_new_env
Verify that the new virtual environment is active by checking the value of the VIRTUAL_ENV environment variable.
echo $VIRTUAL_ENVAn active environment will print the path to the virtual environment directory. Otherwise, the command will not print anything.
Step 4: Install Django in your new isolated environment
In this step, you will install Django in the isolated environment you created in step 2 and activated in step 3. Follow these detailed steps:
Ensure you have activated the right virtual environment
echo $VIRTUAL_ENVInstall Django using pip command
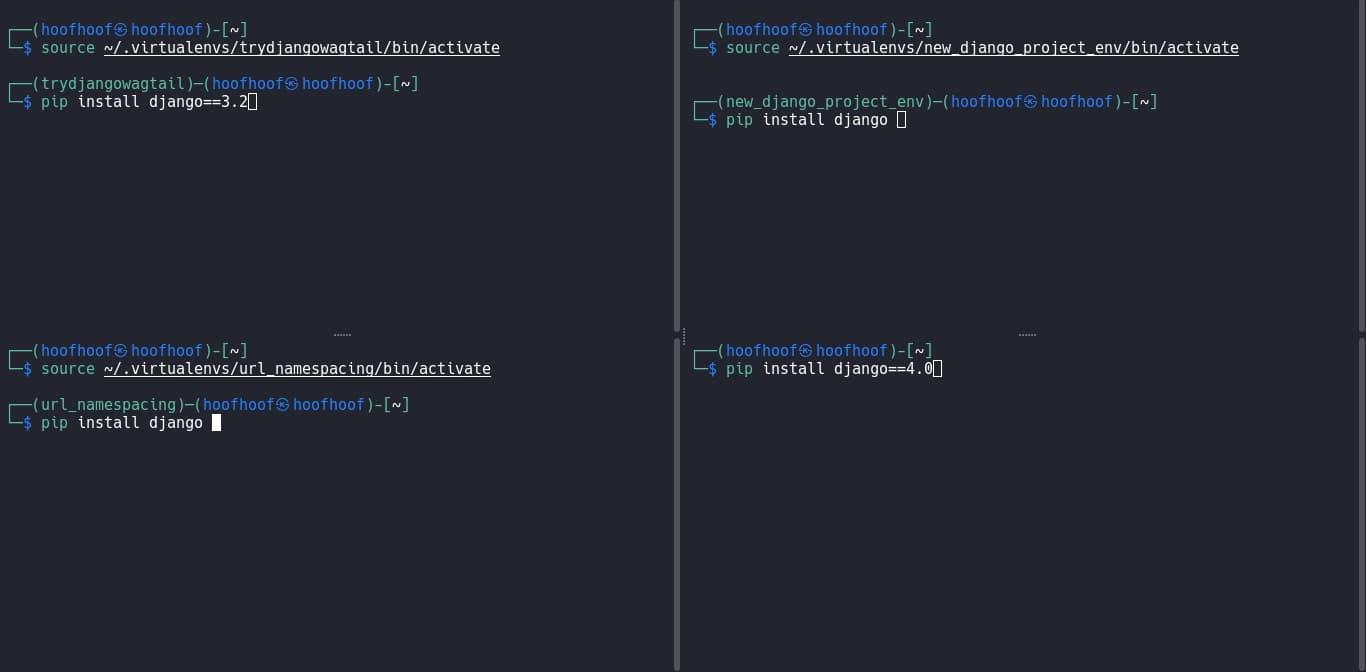
pip install djangoThe command will install the latest Django version available.
To install a specific version, use the syntax: pip install django==version_number
pip install django=4.0Verify that Django has been installed successfully by executing the following command:
django-admin --versionThat should print the version of Django installed in your isolated virtual environment.
The isolated environment ensures that your project uses a specific version of Django, its dependencies, and its unique third-party packages from PyPi.
Step 5: Create a new directory for your new Django project
Now that you have installed Django and its dependencies in the isolated environment, create a new Django project in a new workspace directory and start developing the next big thing.
Create a new directory for your project
Create a directory where you can navigate easily, preferably in your Desktop folder for your new Django project.
mkdir ~/Desktop/new_django_projectNavigate into the new Django project directory
cd ~/Desktop/new_django_projectCreate a new Django project using the django-admin startproject command
django-admin startproject your_project_nameStep 6: Install packages that are unique to your new project using pip
Because every project may have its unique business logic and requirements, you will be required to have unique third-party packages. Therefore, packages that are not part of the standard Django installation can be installed in each isolated environment whenever they are needed.
An example of a package that may be needed in a particular Django project can be Pillow. If you need such a package, then you have to install it using the pip command.
To install a new package, activate the virtual environment and run the following command:
pip install package_nameFor Pillow library, you would run:
pip install pillowRepeat the pip install package_name command for every package that you wish to install.
Step 7: Store the list of dependencies for each project in a requirements.txt file
As a good practice, you should store the list of dependencies for each project in a requirements.txt file. To do that, you have to create the file and run the appropriate command for listing all the package names in the file.
Run the following command to do that:
pip freeze requirements.txtIf you need to recreate the virtual environment and install the specific packages used in this project, you can use the requirements.txt file to install the packages. Besides, you can share the file with other developers to replicate the packages in their virtual environments.
Step 8: Deactivate the virtual environment when you’re done
Deactivate the virtual environment when you’re done working on your project. By deactivating the virtual environment, you can switch to another virtual environment that is used for a completely different Django project.
To deactivate the active virtual environment, type the following command:
deactivateStep 9: Activate the virtual environment whenever you work on the project
Whenever you feel obligated to work on your project, you should activate the correct virtual environment for the project that you want to work on. To remember the correct virtual environment for a Python project, I like to name the virtual environment as the project name and env at the end.
For example, if I have a Django project with the name, SteveShop, I would name the virtual environment for the project, SteveShopEnv. That way, if I ever wanted to work on the project, I would remember the correct virtual environment to activate. In this case,
source ~/.virtualEnvs/SteveShopEnv/bin/activateBy following these steps, you ensure that each project has its version of Django and its dependencies that have no conflicting effects with the system’s packages.
Repeat the process whenever you have a new Django project you want to work on.
Do I need to install Django in every virtual environment?
You need to install Django in every virtual environment that you create for a Django web application. The reason for installing Django in every virtual environment is that each virtual environment is isolated and self-contained, and does not share packages with other virtual environments or with the system’s Python installation.
By installing Django in each isolated environment, you can ensure that each project has access to the correct Django version and any other required PyPi packages.
Here are the advantages that come with using isolated virtual environments
Advantages of using isolated environments for your Django projects
- Package control: Ensures that each project has access to the correct version of Django, its dependencies, and other required packages.
- Reduced risk of package conflicts: Ensures package installation does not interfere with other packages used by other projects. For example, avoid updating a package that could result in incompatibility issues.
- Improved package management: This makes it easy to manage packages used by each project.
- Reproducibility: Makes it easy to reproduce a project and its required packages. By storing a list of dependencies of a project in a requirements.txt file, you can easily recreate the virtual environment if needed.
- Helps prevent conflicts between system packages and packages needed in a Django project.
- Allows you to install and use different Django versions across different Django projects. For example, project A can be using Django version 3 while project B be using Django version 4 on the same machine.
Is Django inbuilt into Python?
Django is not built-in to Python. Django is a separate web framework developed with Python and which can be installed using pip. As a convention, Django is installed in a virtual environment created using the python -m venv new_environment_name.
Thus, to use Django, you need to install it in your Python virtual environment, either globally or in an isolated virtual environment, using the pip install django command. Once you have Django installed, you can create a new Django project and start building your web applications.
How do I know if Django is installed in a virtual environment?
To check if Django is installed in a virtual environment, you can use either of the following ways:
1. Use the following command in your Terminal:
python -c "import django; print(django.get_version())"2. Use the following django-admin in your Terminal:
django-admin --version3. Run the pip freeze command to show the list of packages installed in your virtual environment.
pip freezeIf Django is installed, you should see a line that starts with Django== followed by the version number.
All these approaches should print the Django version installed in your virtual environment. Otherwise, if Django is not installed, you should see nothing.

